Installation Steps
Now that you have the floppies prepared and ready to go, you're ready to start installing MINIX.
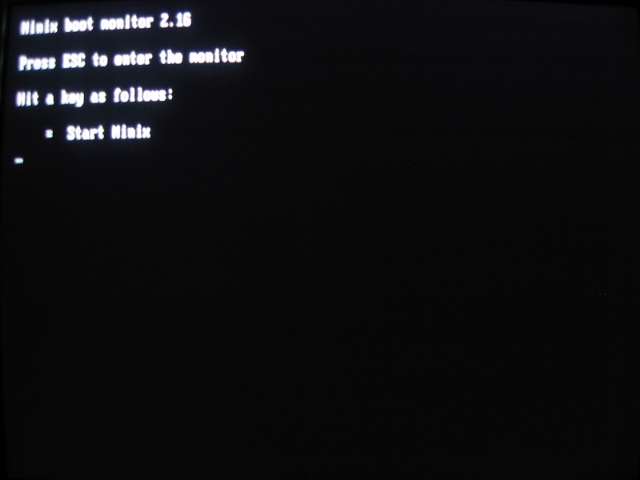
Insert the boot floppy into the target machine and reboot (making sure the BIOS will boot from the floppy). If everything goes well you'll see the following screen:
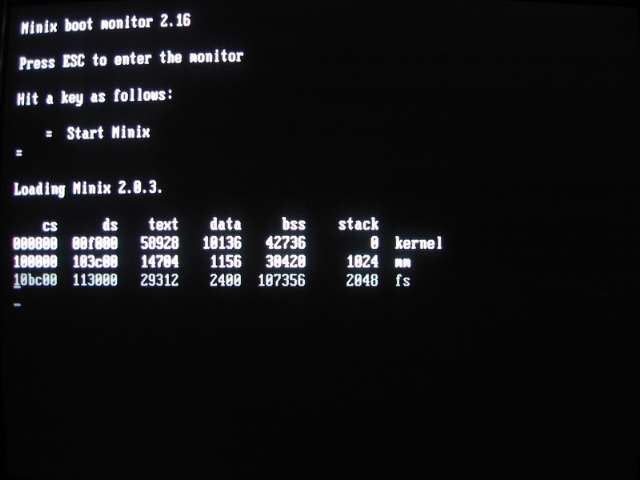
Press "=" and MINIX will start to boot:
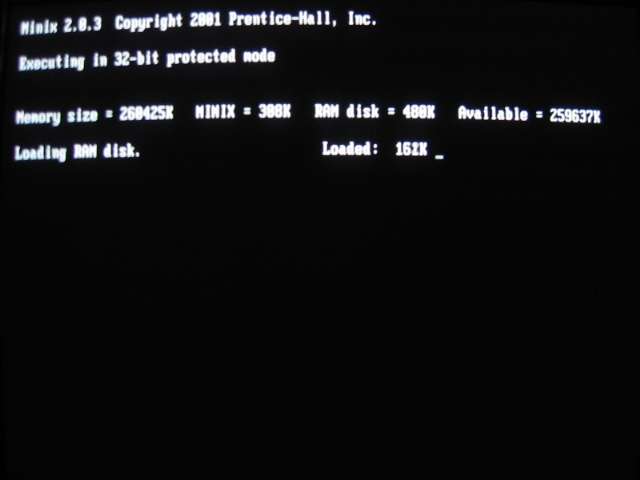
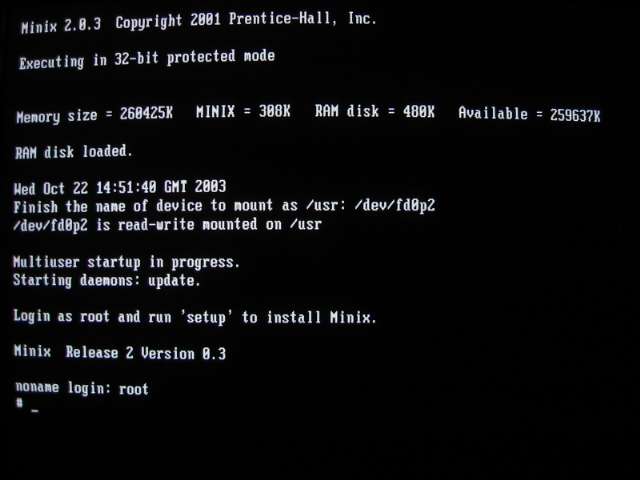
It then starts to load it's image into a RAM disk:
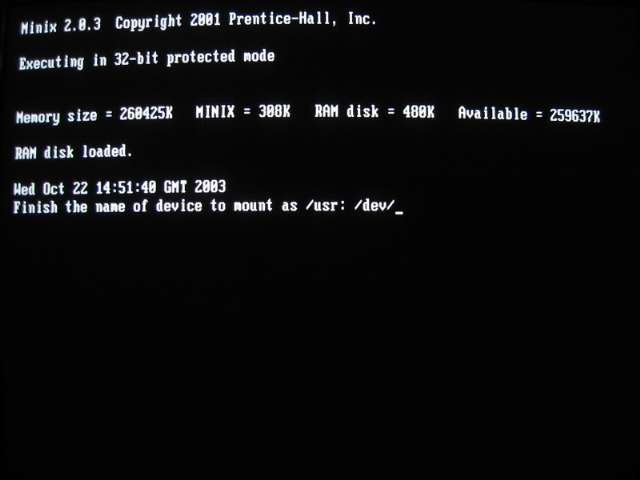
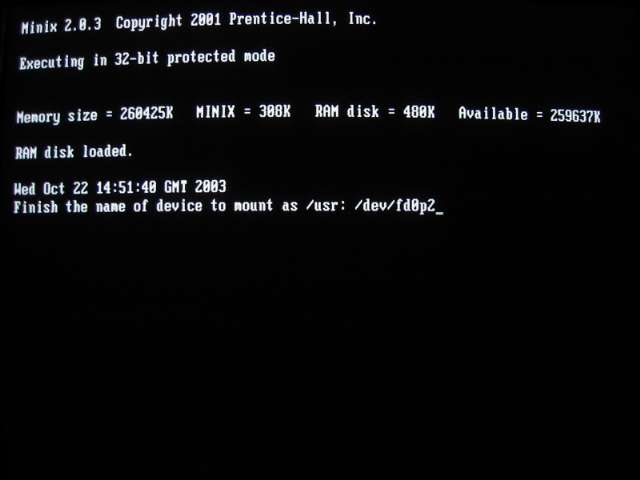
MINIX now needs to know where to find it's base /usr partition:
Since we loaded the two install images onto one floppy we type in "fd0p2" (NOTE: that is a zero following the "fd", not an Oh!)
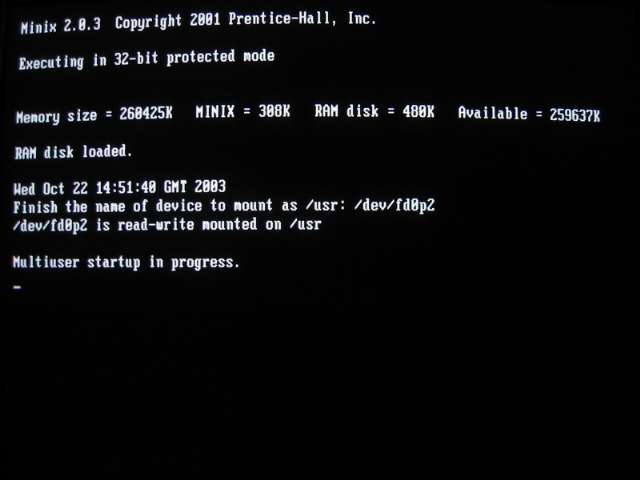
Which satisfies the beast (after we press ENTER):
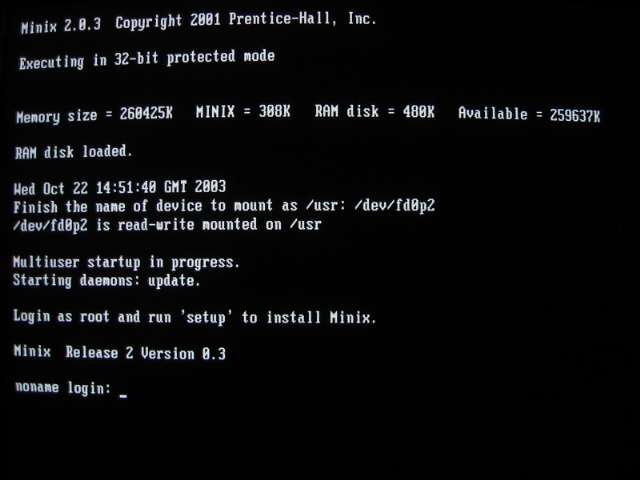
After a bit, MINIX comes to a login prompt:
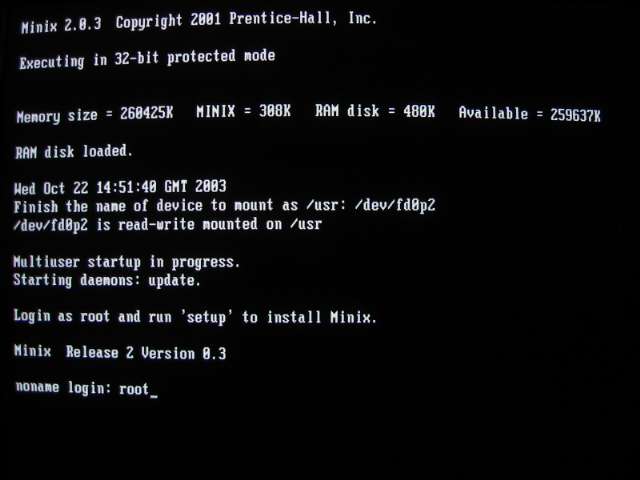
Simply type "root"...
...and hit ENTER:
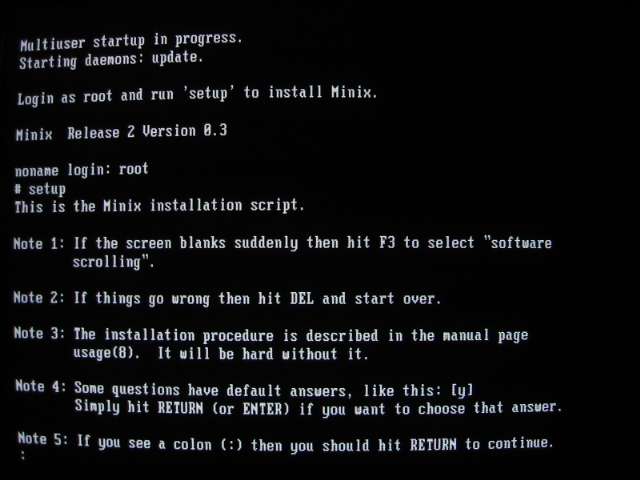
To start the installation type "setup" and press ENTER. The MINIX installer starts off with some instructions:
Press ENTER.
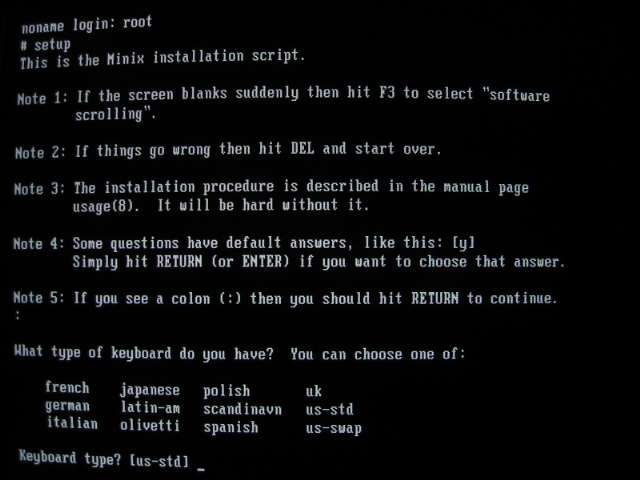
First is a question about your keyboard:
Since I have a US-style keyboard I simply hit ENTER.
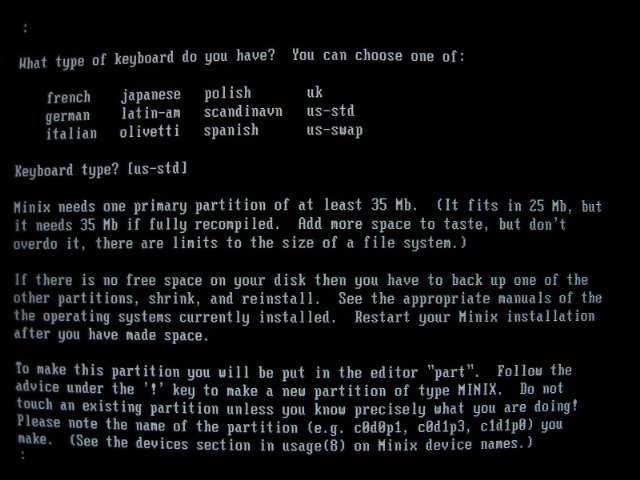
Now the MINIX installer gives some advice about disks and partitions in anticipation of the disk setup portion of the installation:
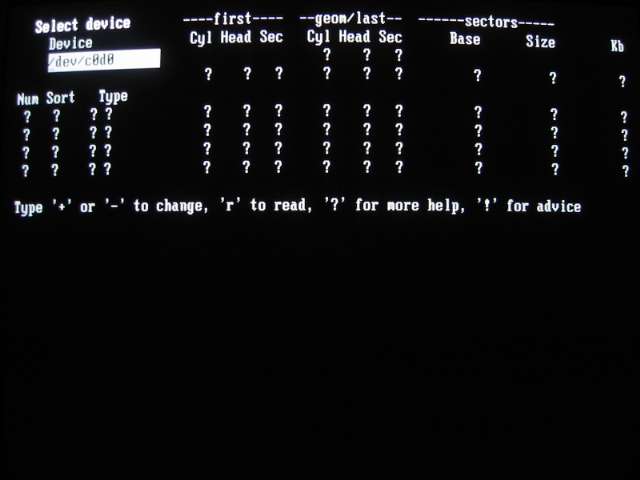
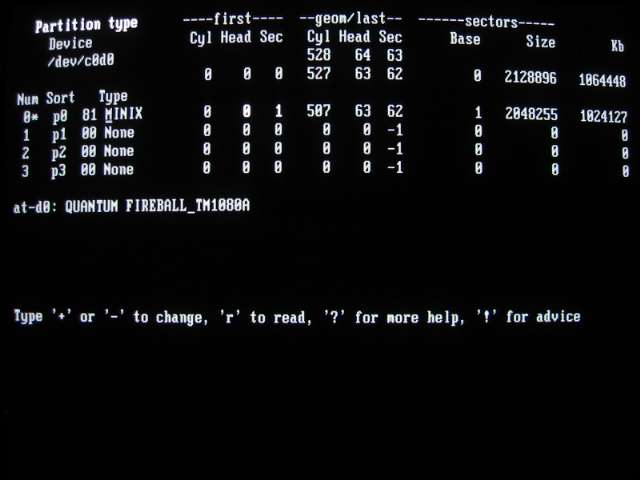
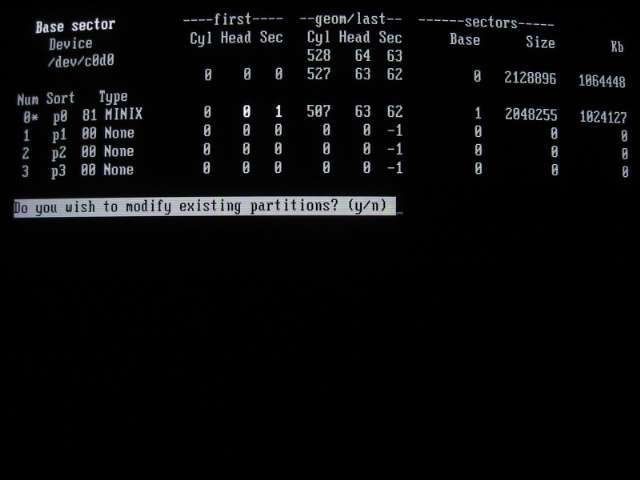
After you hit ENTER, it will run part, the MINIX partition tool:
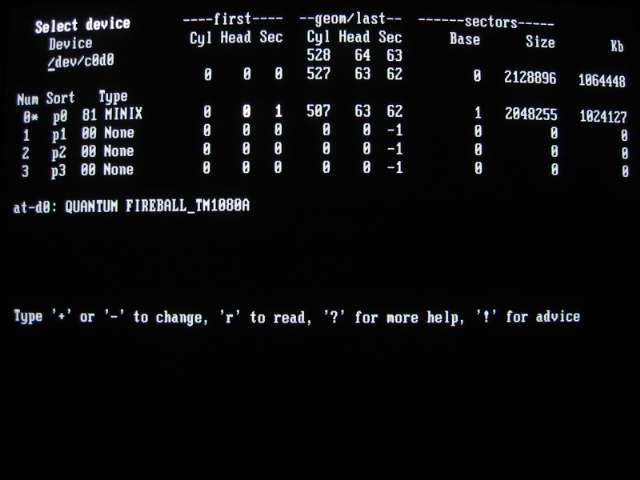
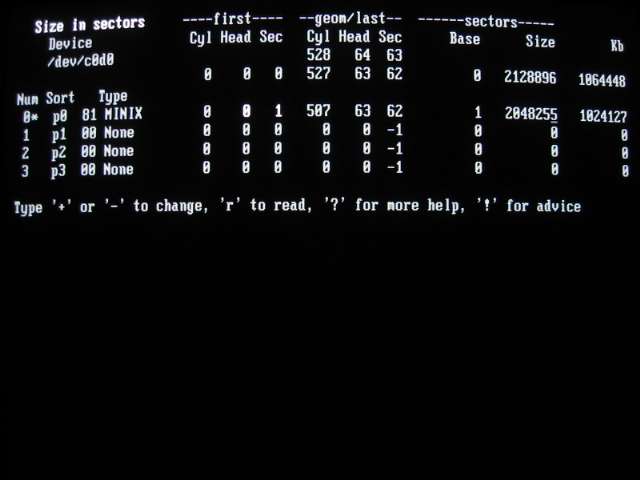
Since I only have one disk on this system with no other OSes or anything else around, I accept the installer's initial setting of using the first disk, first partition (/dev/c0d0). In order to get part to read the disk geometry I press "r":
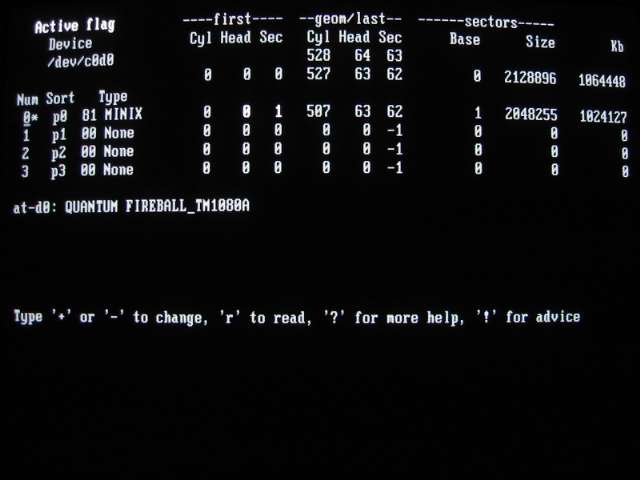
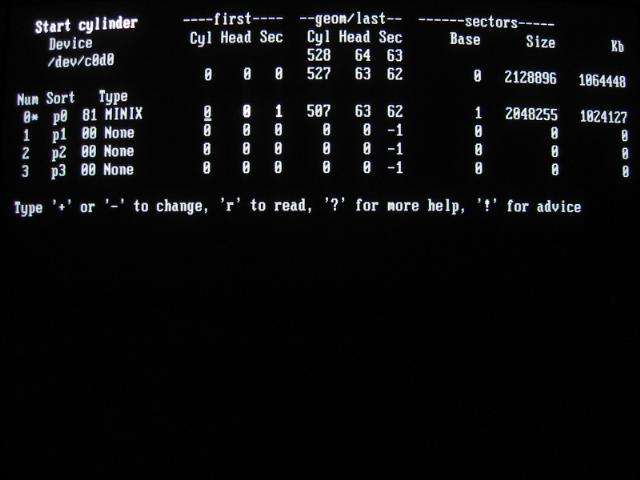
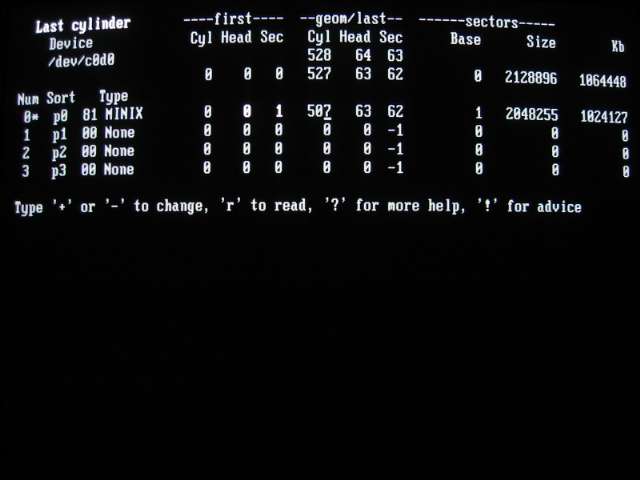
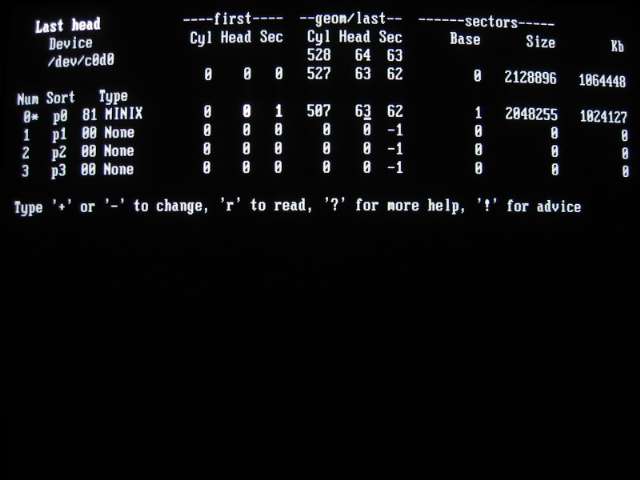
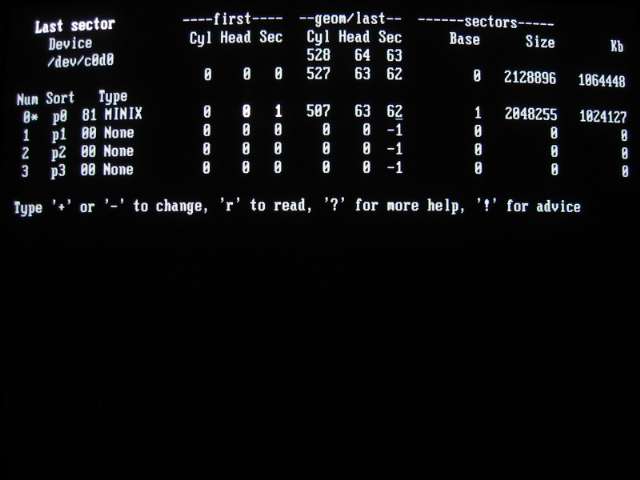
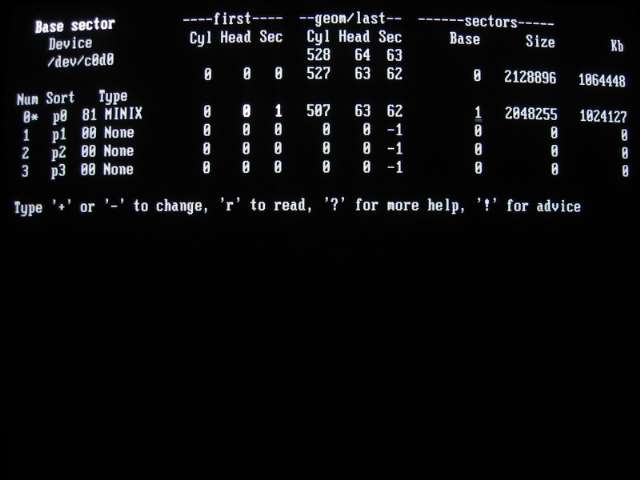
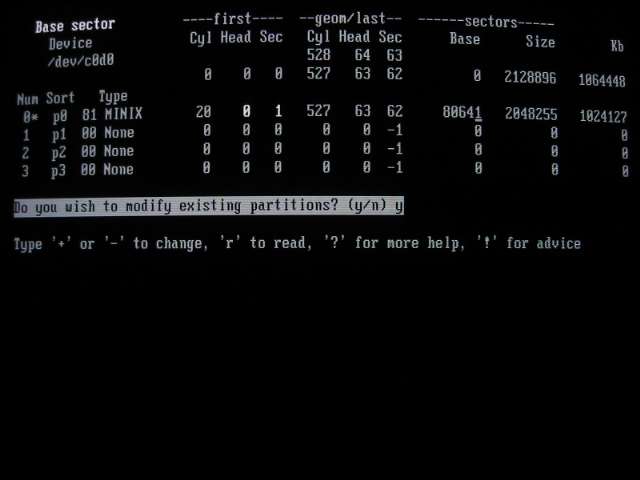
You can now use the keyboard's arrow keys to move around to the different fields:

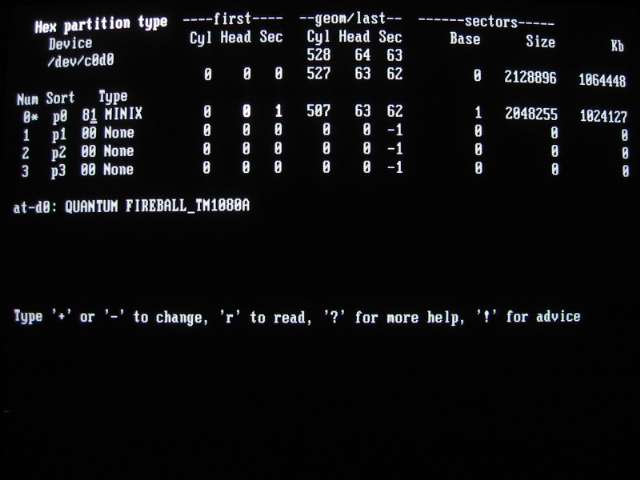
In this example, the partition type for this partition is already set to "81", or MINIX. If this were not the case you would need to set this appropriately by typing in the value "81" when the cursor is in this field.
The value of the next field, "Partition Type" will change accordingly as you type "81".
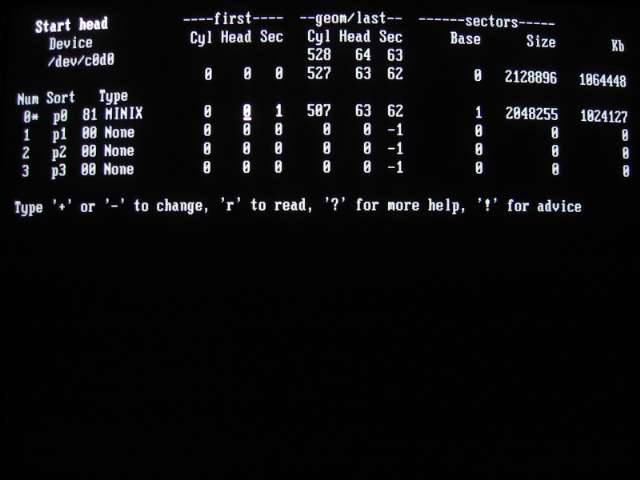
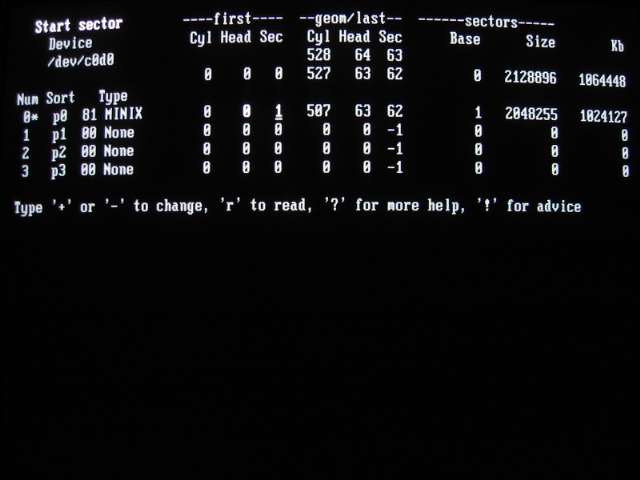
Continuing along with moving the cursor to the next fields...
At this point, just for fun, I pressed "m" to ask part to tell me what options were available for this field that would make the most sense. It responded by confirming that I wanted to make a change:
After pressing "y", part then proceeded to rotate through all the most likely values for this field, displaying one at a time, each time I pressed the "m" key:
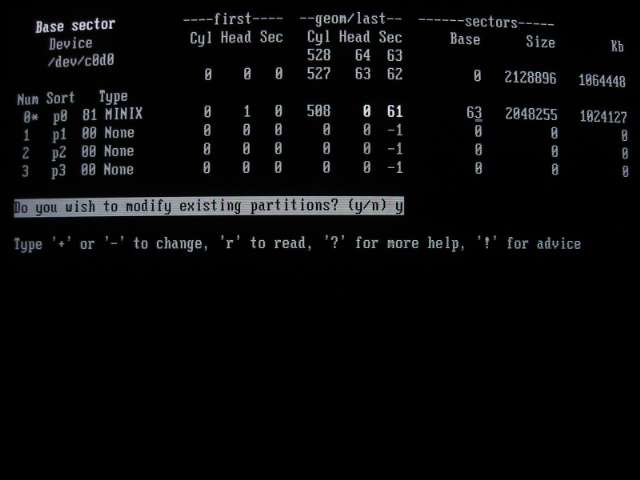
Now we come to the Size field:
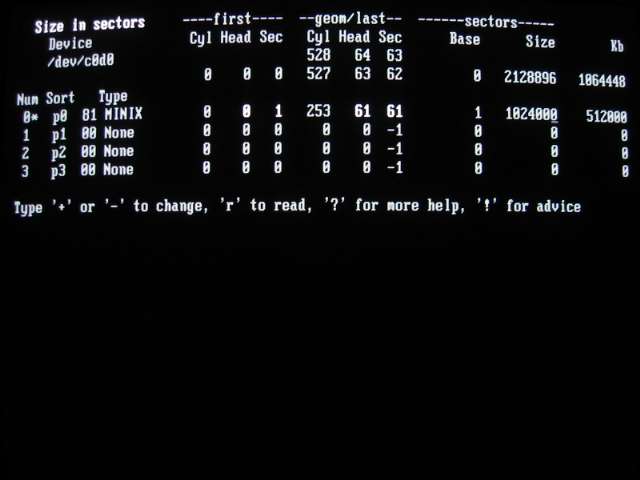
In order to create a partition of roughly 500MB I start by typing in "1024000"...
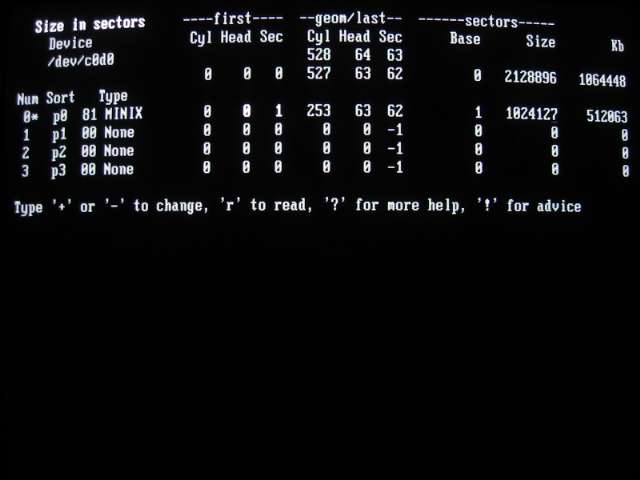
...and then pressing "m" to get part to round to the nearest power of 2 value (i.e. a value to makes the most sense for this field):Note that as you type in a value into the Size field, the values of the last Cyl, Head, and Sec fields will change accordingly.
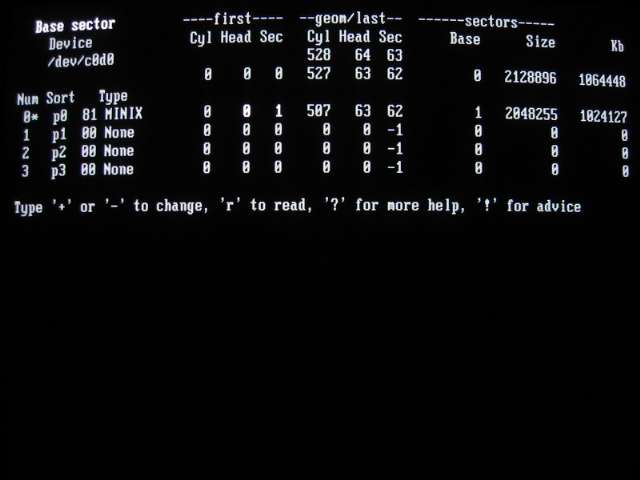
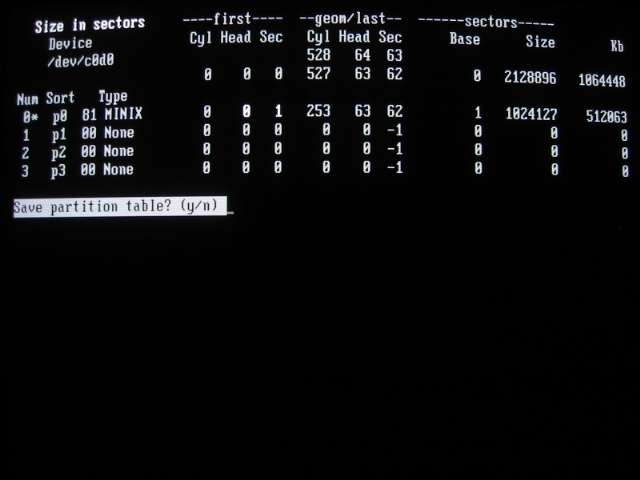
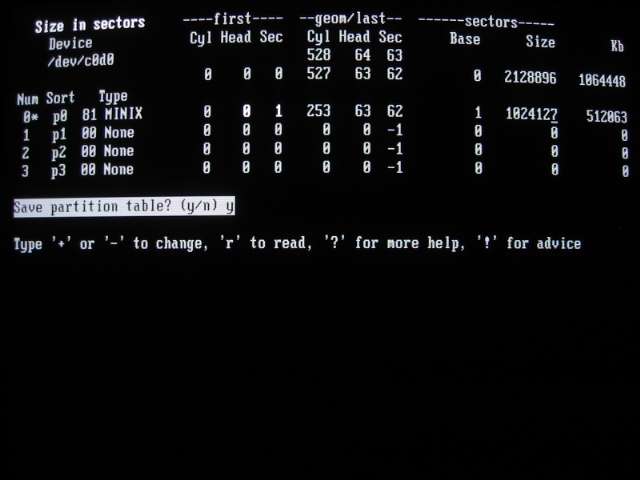
I then press "w" to make part write this new partition table back to the selected device. part will confirm this action:
Pressing "y" will make the write occur:
Now I'm done with part so I press "x" to exit.
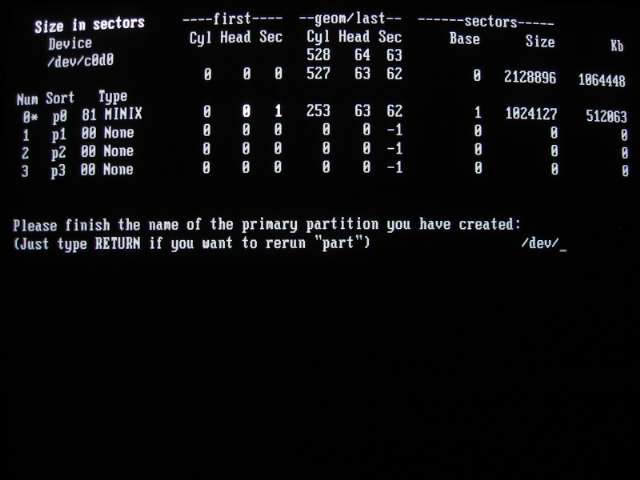
Now the MINIX installer wants to know which is the primary partition.
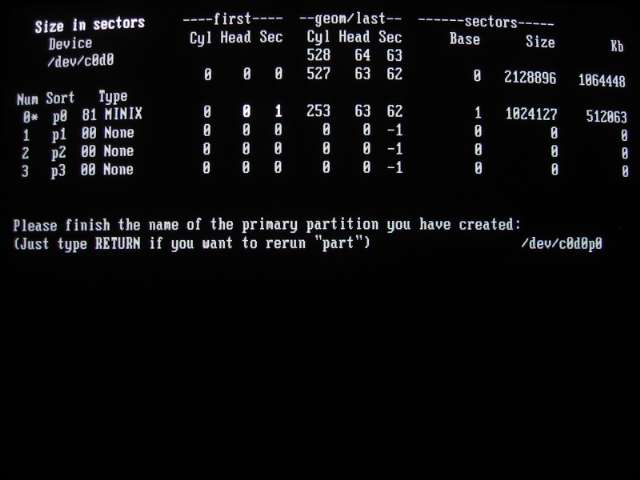
In my case it's the first paritition on the first disk, of the first controller (the one we just played around with in part), so I type this in...
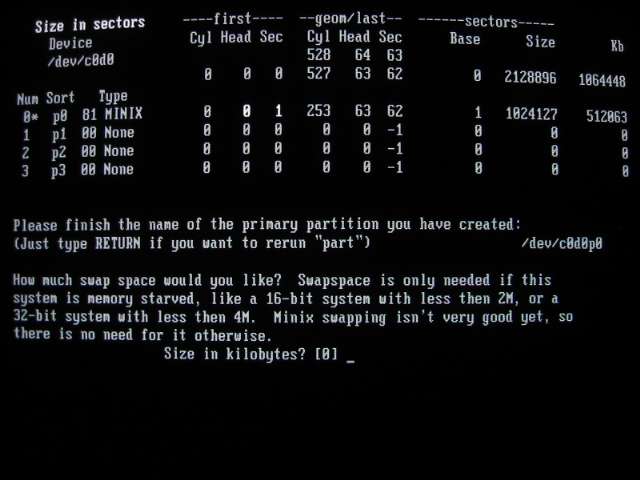
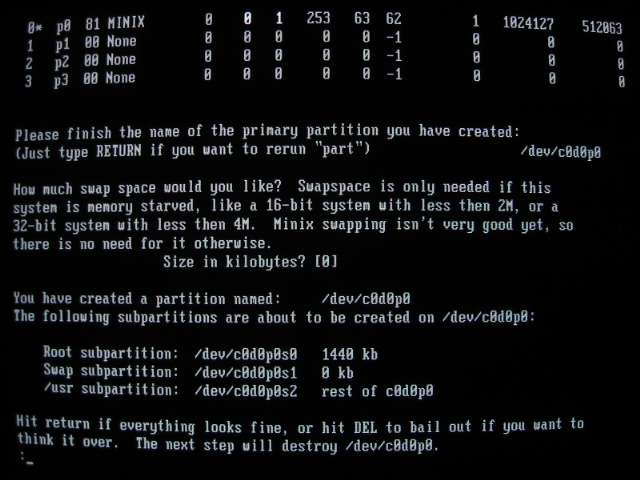
...and press ENTER.Now the installer wants to know how much space to set aside for swap. Since my machine has a lot of memory, the installer suggests zero swap...
...which I accept by pressing ENTER.The installer now wants a big confirm before actually messing around with our disk:
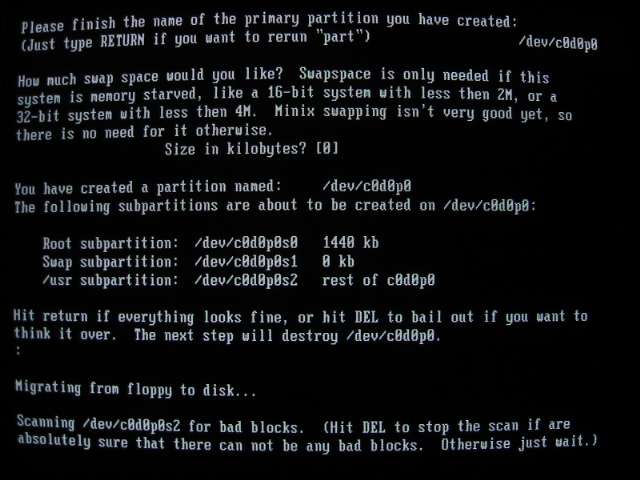
Everything looks okay so I confirm by pressing ENTER.The installer then provides some feedback to let us know what it is working on. It first starts by scanning our disk for bad blocks, this takes a bit of time:
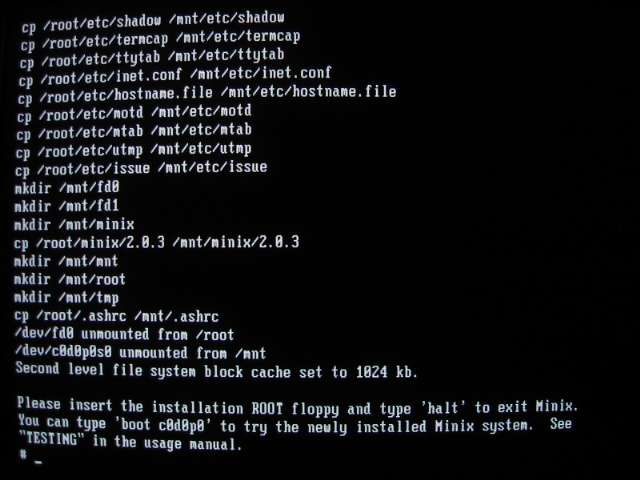
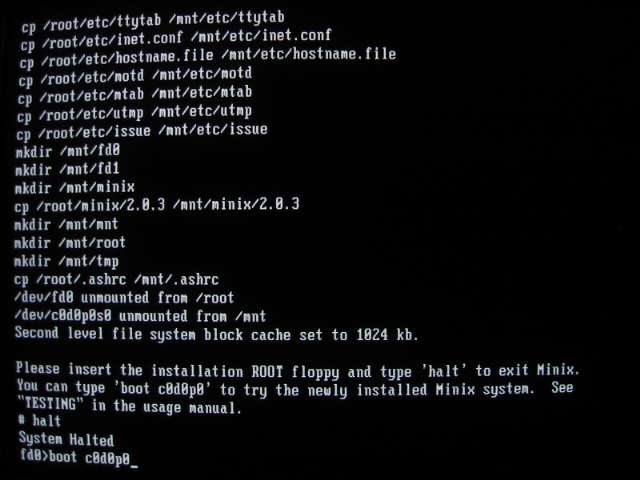
Once this is done it starts copying things over to the disk. If everything goes well it finishes off with:
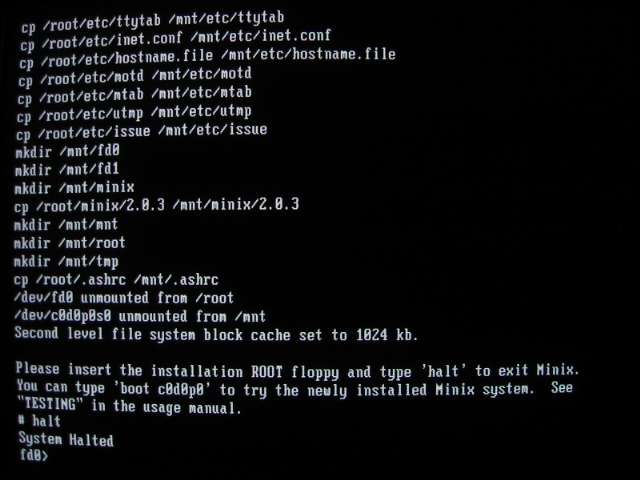
In order to now try booting from the disk, without using any install boot floppy, halt the system by typing "halt" and pressing ENTER:
This returns us to the boot loader (running off the floppy).
We now ask to boot from the disk...
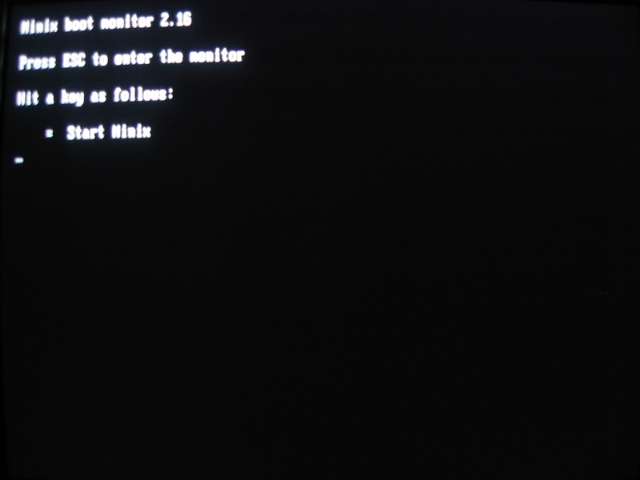
...and press ENTER.The familiar boot loader screen comes up (albeit much faster):
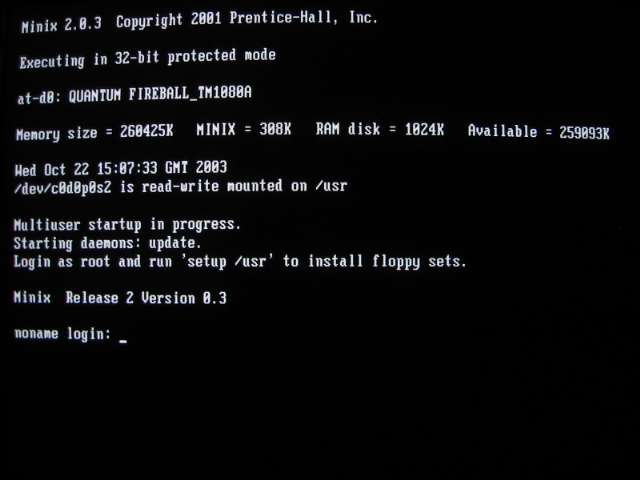
Press ENTER and MINIX will now boot (very fast!) from disk and come up to a login prompt:
If this all goes well MINIX is now ready to boot off your hard disk the next time the machine is rebooted -- no floppies needed for boot.
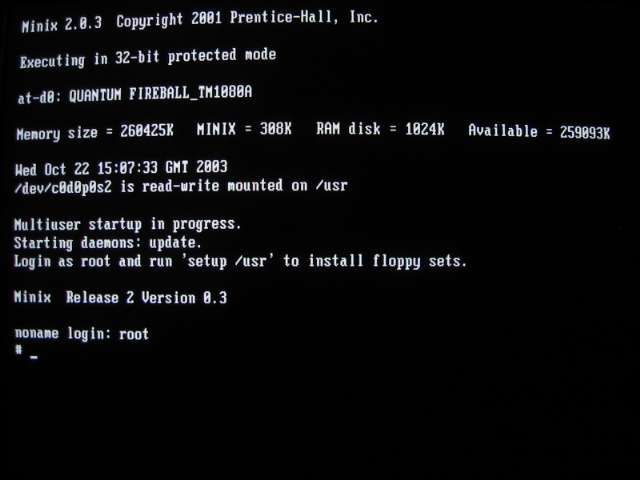
Login as "root" and press ENTER (no password required):